Growing Mung Bean Sprouts
Growing bean sprouts is an easy project that saves money and results in an abundance of fresh vegetables. With a few materials and a little bit of time, you can grow mung bean sprouts in very little time.
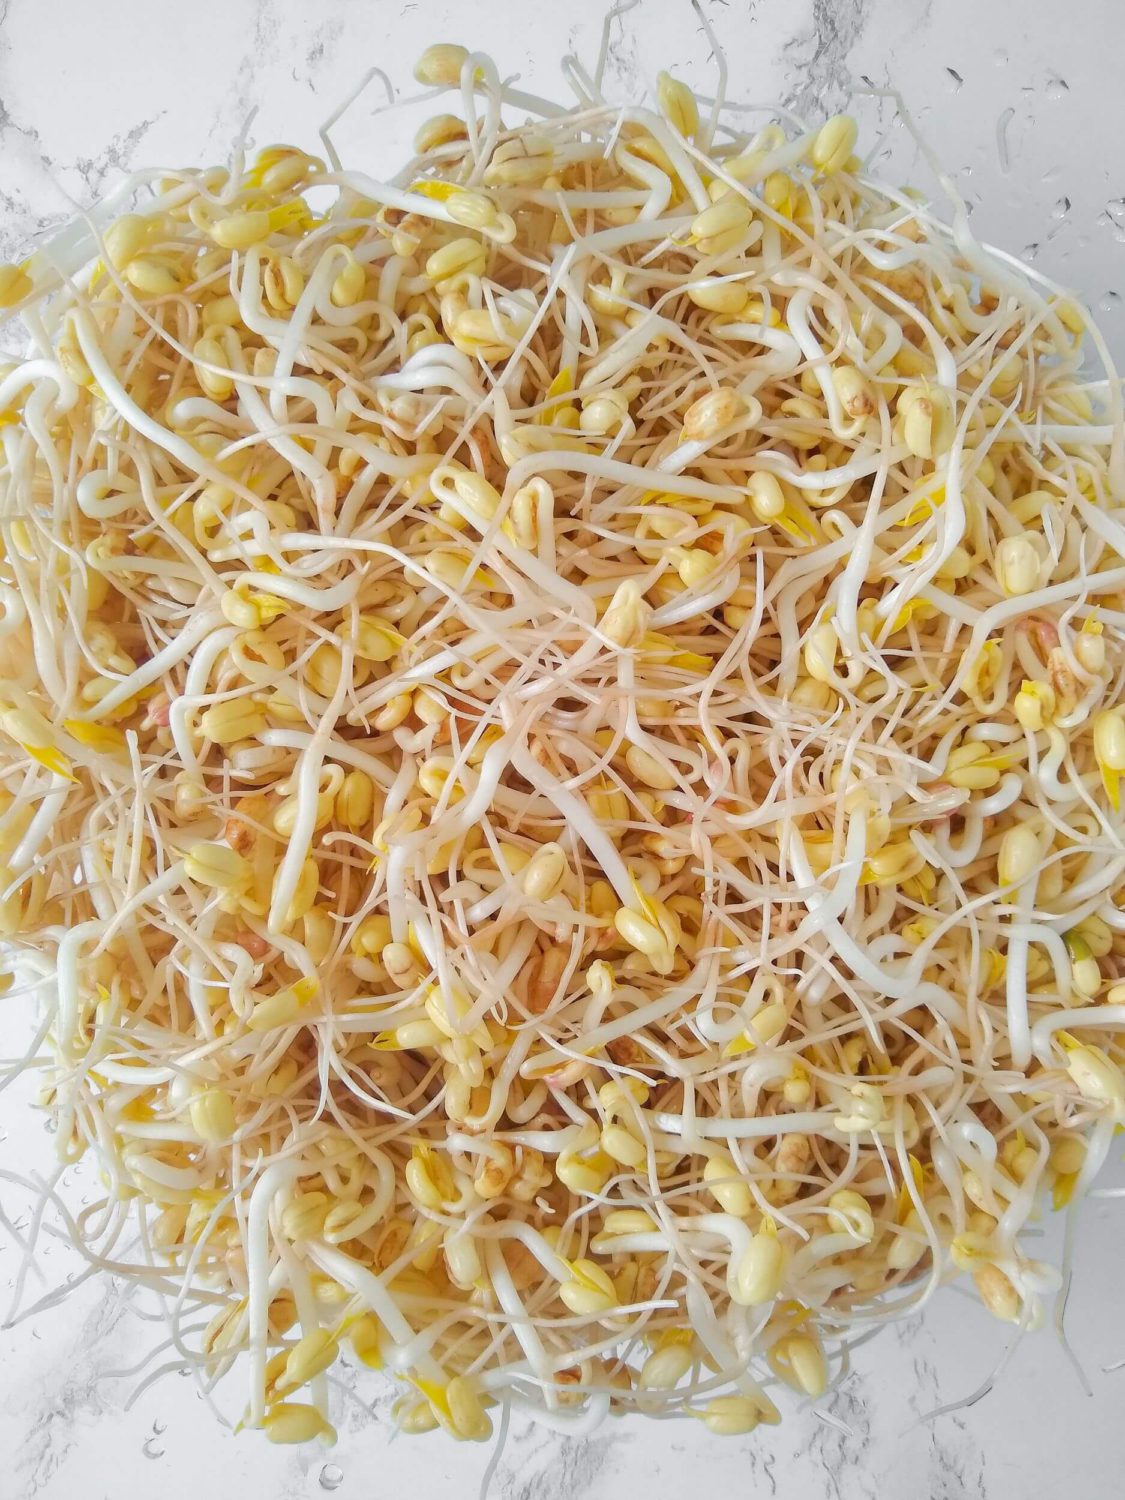
Growing mung bean sprouts is a great weekday/weekend project that is simple and nutritious! Mung bean sprouts are known for their crisp and light texture. It is a common vegetable used in Asian cuisine. Dishes like Sookju Namul (Korean bean sprout salad), pho, pad thai, and various Asian-styled stir-fries all use mung bean sprouts. Unfortunately, store-bought bean sprouts are often not the freshest and will go bad within a few days of their purchase. Growing mung beans sprouts at home can help you have fresh bean sprouts while also saving money!
Tips
- The fresher your dried mung beans are, the more they will sprout and the greater yield you will have. The process of growing mung bean sprouts can be applied to other types of beans such as chickpeas, lentils, or black beans.
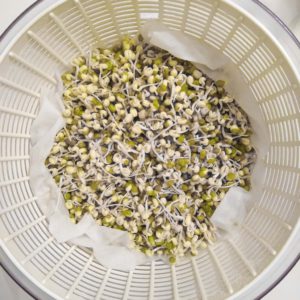
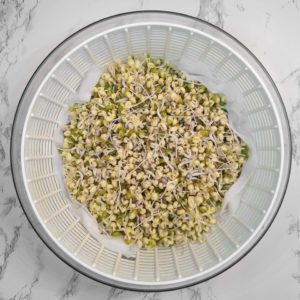
- If you do not have a colander, you can substitute any other container with holes at the bottom for drainage. For example, the pictures above show a salad spinner. Some people use a stove-top steamer. You can also take a plastic bin and cut some holes at the bottom.
- You can also place a flat plate and heavy object on top of the sprouts to help them grow even straighter. As long as the rinsing in the first few days is gentle and does not move the bean sprouts around too much, they should grow straight without any extra weight on top.
- Adding extra weight on top can also prevent the root from growing too long and allow the sprout to grow thicker.
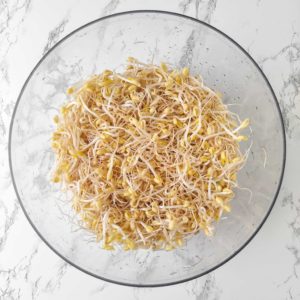
- Growing mung bean sprouts in a dark place ensures that the beans stay a nice vibrant yellow color and do not turn pink or green. If exposed to a little bit of light when watering, the sprouts may develop a slightly pinkish tinge, which is harmless. If exposed to even more light, the beans will begin to turn green and acquire a bitter taste. So, store the sprouts in a dark place for as much as possible.
- If desired, pick off the tail end of the mung beans for a cleaner look. You can optionally remove the green shells as well.
Growing Mung Bean Sprouts
Equipment
- colander, or any container with a drainage hole
- large bowl to hold the colander
- paper towel (or cheesecloth, gauze, etc.)
- lid (or thick towel) to cover the bowl
Materials
- dried mung beans or any other bean (ex: lentils, black beans, etc.) See Note 1
Instructions
- Wash the beans once or twice, removing any bad beans. The amount of beans you will be sprouting should not fill more than a quarter of the container you will be using, as the mung beans increase in size dramatically.
- Lay a lightly dampened paper towel (or cheesecloth) on top of a colander. You can also substitute any other container with holes at the bottom for drainage.
- Pour the mung bean seeds on top of the towel and spread them out so that they lay evenly.
- Rinse the seeds thoroughly with water. Let the excess water drain off and place the colander in a larger basin. Cover the colander with a towel or lid and store it in a dark area (ex: cupboard). Storing the beans in a dark place ensures that the beans do not turn green or bitter.
- Water the seeds as described in the previous step at least twice a day. The beans should be watered in roughly 12-hour intervals (ex: once in the morning and once in the evening). In the beginning, do not shake or disturb the beans too much when watering so that they grow straight. Note 2
- Repeat the watering process for a maximum of five days or just before the sprouts begin to grow leaves.
- Rinse the bean sprouts thoroughly with water and let them dry completely. Add the mung bean sprouts in a plastic bag with some paper towels before storing them in the refrigerator. They should last for up to a week. After about a week, the bean sprouts will begin to wilt and turn brown.
Notes
- If you would like to use other bean varieties, you can stop growing the beans after 2-3 days.
- You can also place a flat plate and heavy object on top of the sprouts to help them grow even straighter. As long as the rinsing in the first few days is gentle and does not move the bean sprouts around too much, they should grow straight without any extra weight on top.
How to Grow Bean Sprouts
Wash the beans once or twice, removing any bad beans. The amount of beans you will be sprouting should not fill more than a quarter of the container you will be using, as the mung beans increase in size dramatically.
Add the beans to a bowl, cover them with about an inch of water, and let them soak for 12 to 24 hours. The green shell of the mung bean should crack open, and the white bean inside should be exposed. Drain the excess water from the soaked mung beans. Lay a slightly dampened paper towel or cheesecloth on top of a container with drainage holes for growing the mung beans sprouts. Pour the mung bean seeds on top of the towel and spread them out evenly.
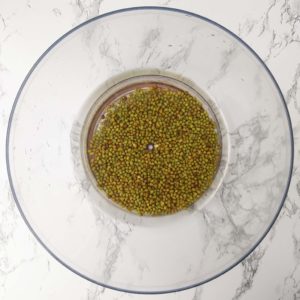
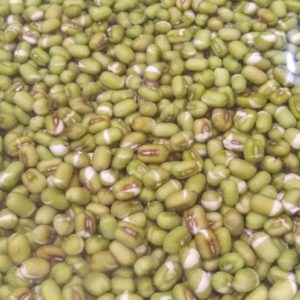
Rinse the seeds thoroughly with water. Let the excess water drain off and place the colander in a larger basin. Cover the colander with a towel or lid and store it in a dark area (ex: cupboard).
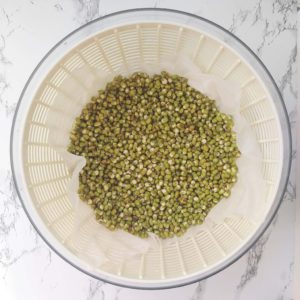
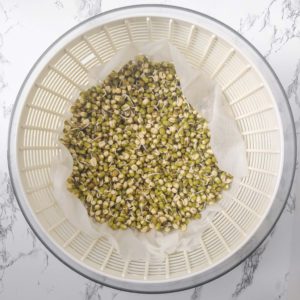
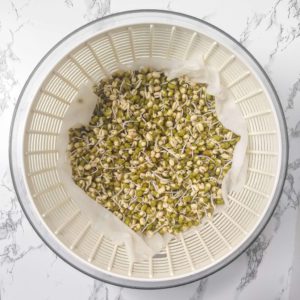
Water the seeds as described in the previous step at least twice a day. The beans should be watered in roughly 12-hour intervals (ex: once in the morning and once in the evening). At the beginning of growing mung bean sprouts, do not shake or disturb the beans too much so that they grow straight. Otherwise, they will grow curly.
Repeat this watering process for a maximum of five days or just before the sprouts begin to grow leaves. As the bean sprouts start to produce more leaves, they will lose more of their nutrition.
To Store
After you have finished growing mung bean sprouts, rinse the sprouts thoroughly with water and let them dry completely. Add the mung bean sprouts in a plastic bag with some paper towels before storing them in the refrigerator. They should last for up to a week. After about a week, the bean sprouts will begin to wilt and turn brown.
